PlusPlus 1A in Progress
(Click picture for larger version)
These are in reverse order as you might say. with the newer pictures at the top.
| Glass and carbon on the extensions. I'm a bit short of good filler at the moment, but I have got a small bucket of microballoons... The filler is also using up that time expired batch of SP106 in the garage... Its curing all right! The next step is to glass over the trimmed back buoyancy, fill where appropriate and paint. I'm going to try leaving the top surface unfilled, just spray painted over the peel ply surface and see what its like as non-slip. | 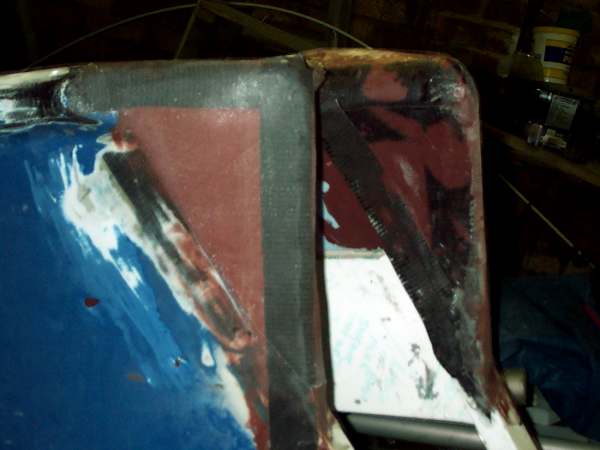 |
| All that I've done is to grab a lump of blue styrofoam (not remotely a high performance core, but light) and glue onto the front beam of each wing. This will then get carbon unis for strength and a layer or two of glass to keep the carbon in line and to provide impact resistance. | 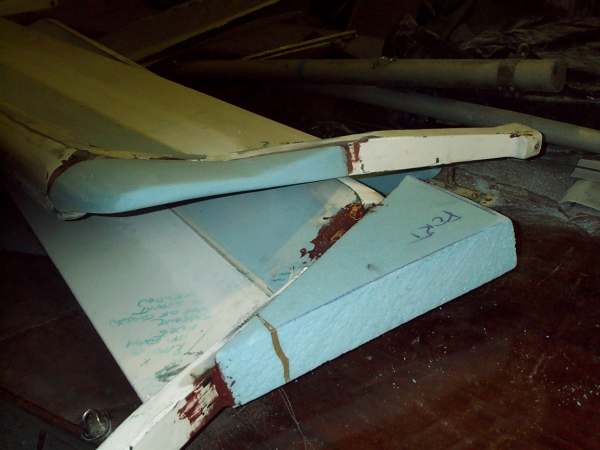 |
| You can see in these shots that the extension on the starboard upper) wing has already been shaped, but the port is just the plain block. You can also see that I've chopped off some of the styrofoam that makes for the comfort pad and buoyancy for the wing tips. Hopefully less flotation will make the boat a little less prone to inverting and float a little lower in the water for easier capsize recovery. | 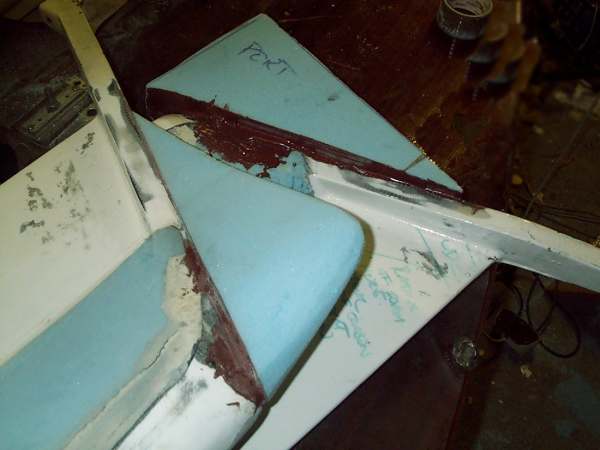 |
| All the work from here and below was done by Bloodaxe Boats, and the photos are in their workshops on the Isle of Wight. As ever I'm very pleased with the standard of workmanship, especially when you consider all the compromises we had to make with time and cost. High quality work is an option for many boatbuilders, but high quality work combined with a good eye on the time as well is more difficult. | |
| This is actually what I had in mind originally for contrast between the two shades of blue on the boat, but I got the colours wrong | 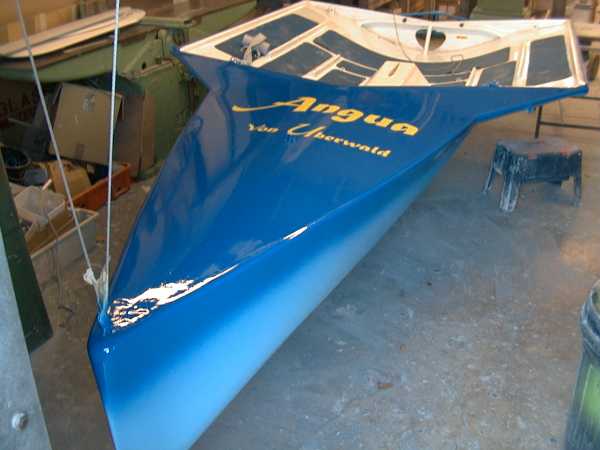 |
| All I have to do is to keep it that way! | 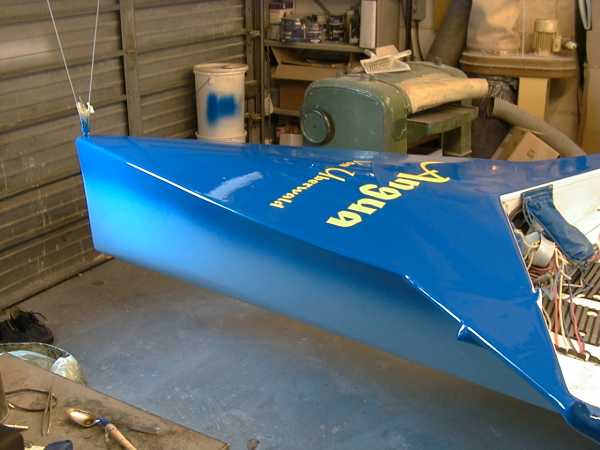 |
| A nice new coat of blue paint, with all the bashes and bumps of 3 seasons bouncing of jetties and things smoothed away. | 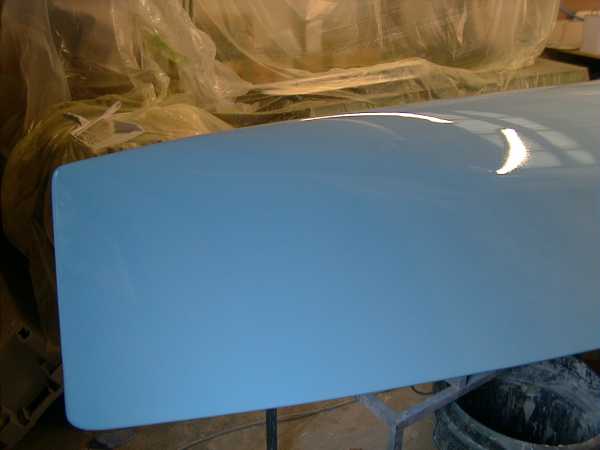 |
| I've gone fopr a paler blue this time. The fordeck will stay darker though, with some kind of overspray effect round the join. | 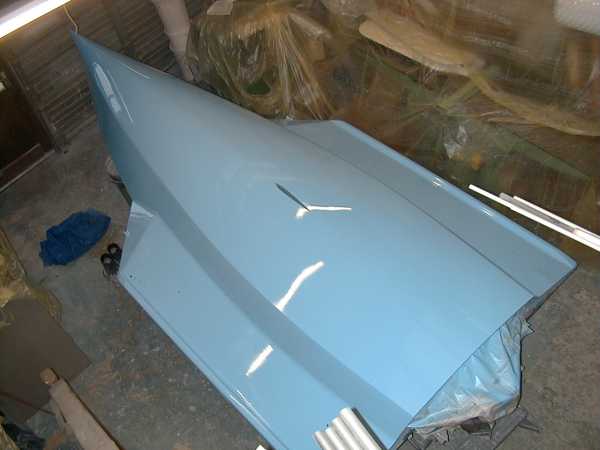 |
| Considerable progress being made- unlike the wings which I've only just started:-( I'm going to have to get my act together this week... The outer skin is on now, so its mainly filling fairing and painting to go. | |
| Here the main outer skin is in place. These "low" tech glass boats are much better for photos than carbon ones, which just look like a single latge shadow at net resolutions. | 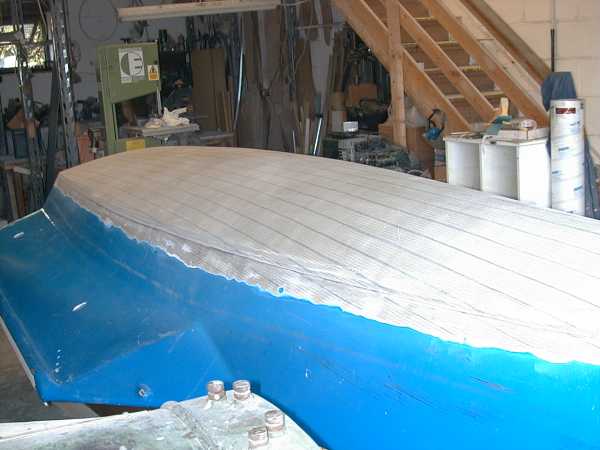 |
|
Peel ply on the skin. I've come to the conclusion that peel ply is tremendous stuff of late. Saves an enormous amount of finishing work. When I do the wings I may leave them peel ply rough as a non-slip surface - saving even more work. My favourite peel ply story came from Wiz Deas. He was doing some modifications on a very early foam multihull and had to prepare an inside surface for being glued onto. Some preliminary work revealed a little corner of peel ply. |
 |
|
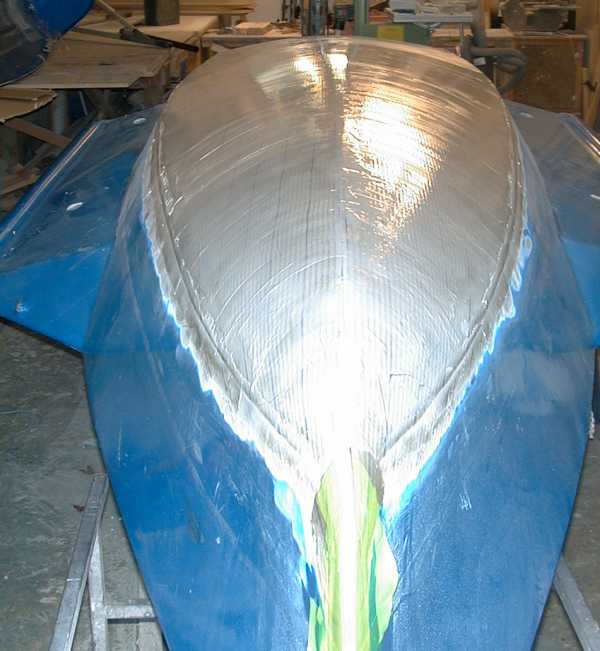
He pulled, and to his delight the whole surface came away, filler paint and all, leaving freshly de-peel pyed surface just right for what he had to do. His assumption is that the original builders, who must have been very new to the materials, had heard that you should put peel ply on, but not that it had to come off again! Anyway, here from the bow the extra rise of floor is very apparent. |
 |
| And here a three-quarter view of the hull foamed filled and faired ready for the new outer skin. | 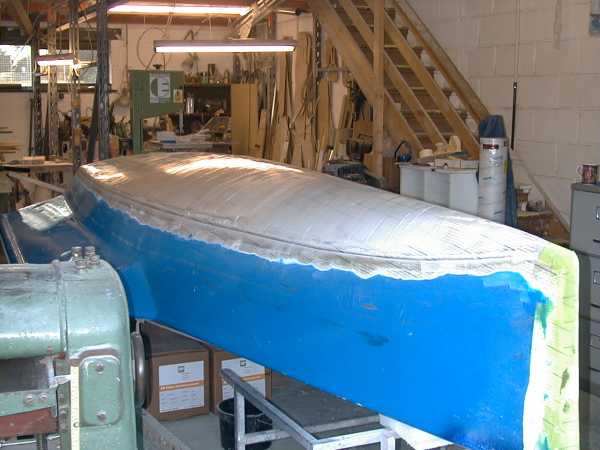 |
| The process chosen was to start by bulking out the shape with a lower density foam, and then putting a layer of normal construction foam on top. This minimises the fairing work and glue/filler lines in the outer layer of foam - glue lines are worth avoiding because they have a tendency to show slightly proud ten years on. You could spot most of the glue lines on my 1989 built (not by Bloodaxe) Cherub until a major de-denting exercise last year hid them to a certain extent. | |
| I suppose from aft it still looks very much the same from a cursory view. | 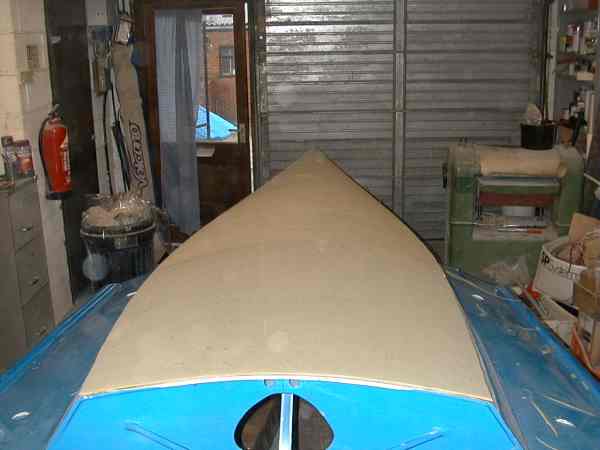 |
| And also from above. But if you're not that familiar with what the boat looks like its useful. Also these are the only extant photos in which there is a contrast between the hull below and above the chines. Consequently the hull looks, I think, much more "boat shaped" | 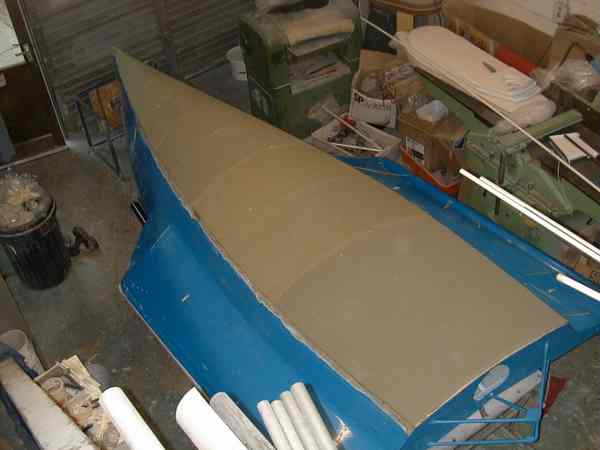 |
| Here its possible to see the shape of the hull. Its interesting to compare this with some of the pictures of the boat under construction four years ago. | 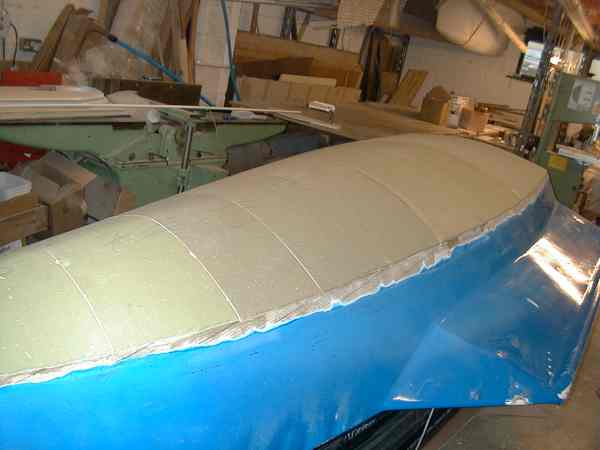 |
| A similar view with the vacuum bag on to glue the foam firmly down to the layer underneath. | 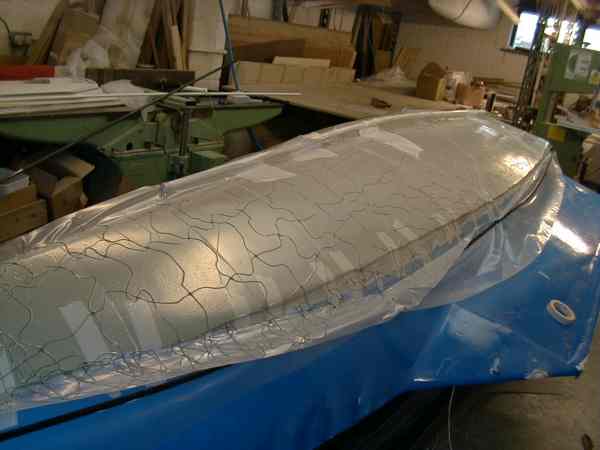 |
| And from aft. Take a look at this picture from building time at a similar angle to see how much the rocker line changes with less than two inches added... | 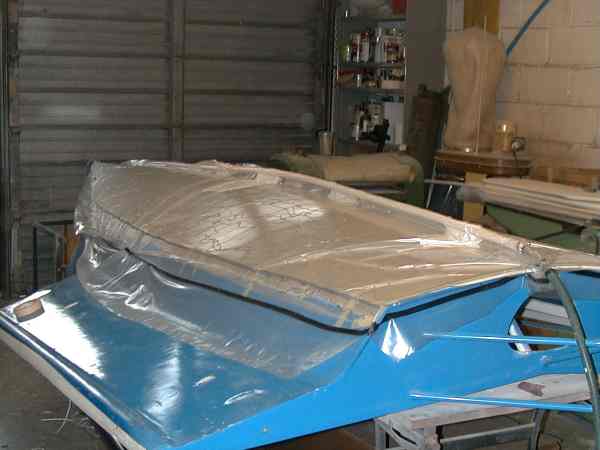 |
| The first layer of foam is a low density foam to fill up the shape without adding too much weight. The outer layer of foam will deal with dent resistance etc so we can go lighter here. | |
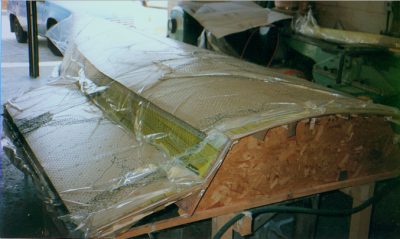
| Here are four views of the hull with the first extra foam added and just beginning to fair off ready for the outer layer of foam. There are lots of glue lines and so on here, quite tricky to fair, and it would be quite a nasty job getting it fair enough for the outer skin. | 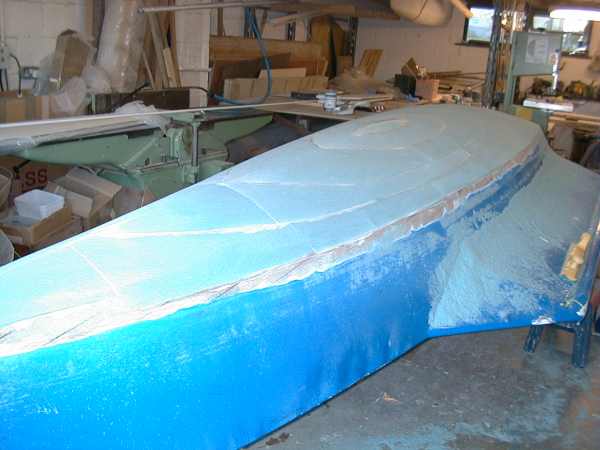 |
| I suppose if you're used to Enterprises and things this still looks pretty flat, especially from this view. But to Andy and I, used to flat boats, this is really getting quite curvy. In particular the rise of floor has increased quite significantly towards mid length where all the rocker has been added. | 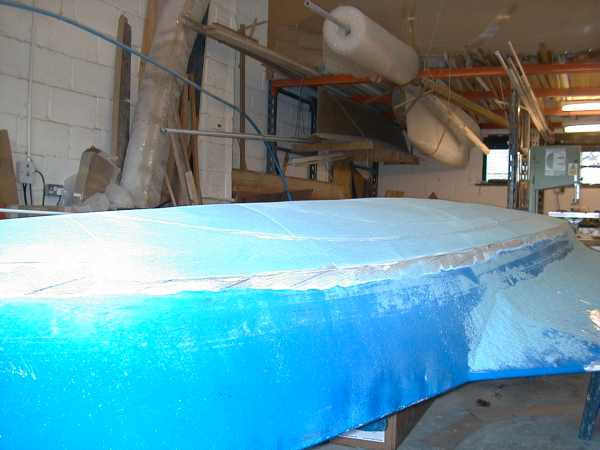 |
| This ought to make for much lower wetted area when heeled, and, well all the time anyway. I had hopes, totally unbacked by any research, either empirical or numerical, that the extra warpage in the sections will help the boat lift from the water and plane faster, counteracting to an extent the loss of speed from the increased rocker. Experience suggested that I was wrong! | 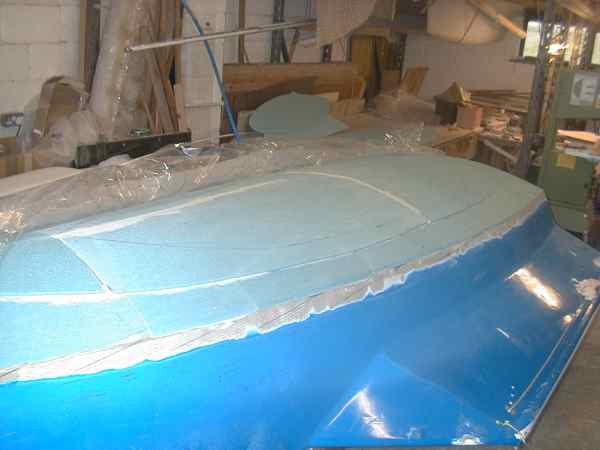 |
| Its a pity I wasn't able to do before and after tow tests to get actual numerical results from the changes. Its all going to have to be by impression, which is a singularly blunt instrument for evaluating subtle changes. But hopefully the changes won't be that subtle! | 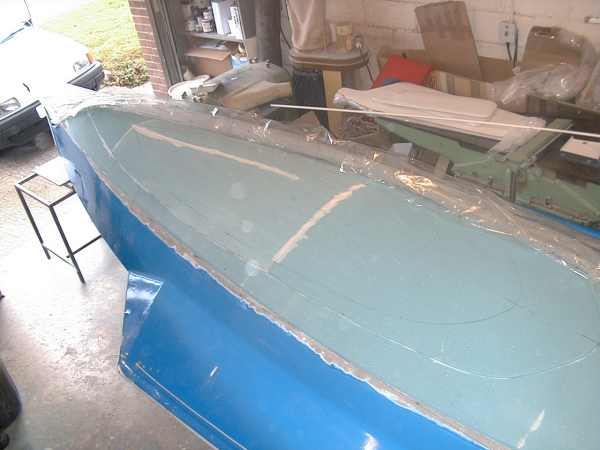 |
| This is the hull in the original shape with just the outer skin removed. There's some some filler added as the skin removal inevitably causes some damage to the underlying skin. But the filler is pretty light - if expensive! | 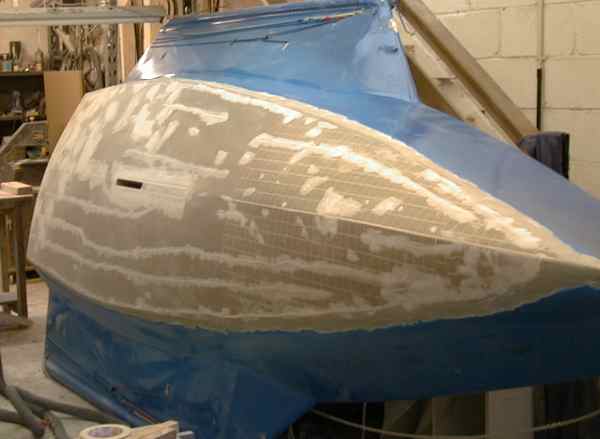 |
Photos of hull surgery at Bloodaxe' Workshops (c) Andy Paterson/Bloodaxe Boats, others (c) Jim Champ