
A Major rebuild of a middle aged Nethercott International Canoe, with a bit of a diet involved.
Having discovered that I had serious wet rot problem with the internal framing I had to take the deck off. On investigating further I found even more rot, some (to my way of thinking) rather over-substantial components, and several lumps of wood that were both.
The work had to be done largely away from my house as my garage isn't really big enough to work on a Canoe. Thus I only realy had free weekends to work on the boat.
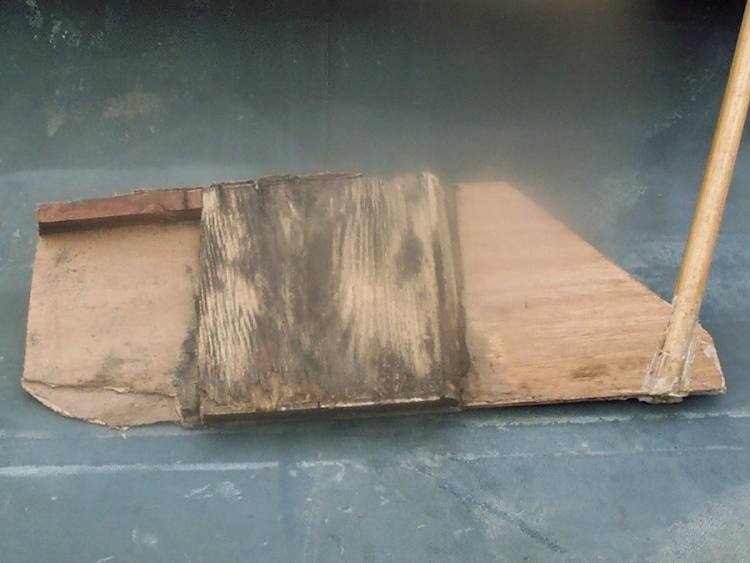
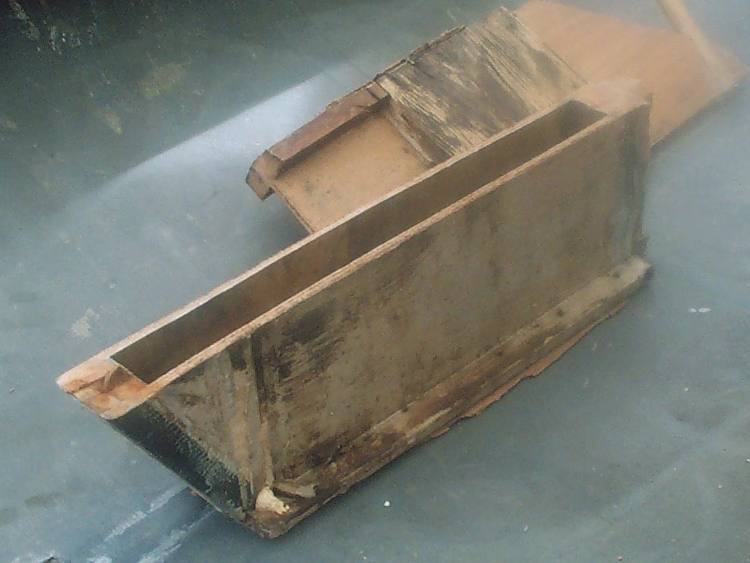
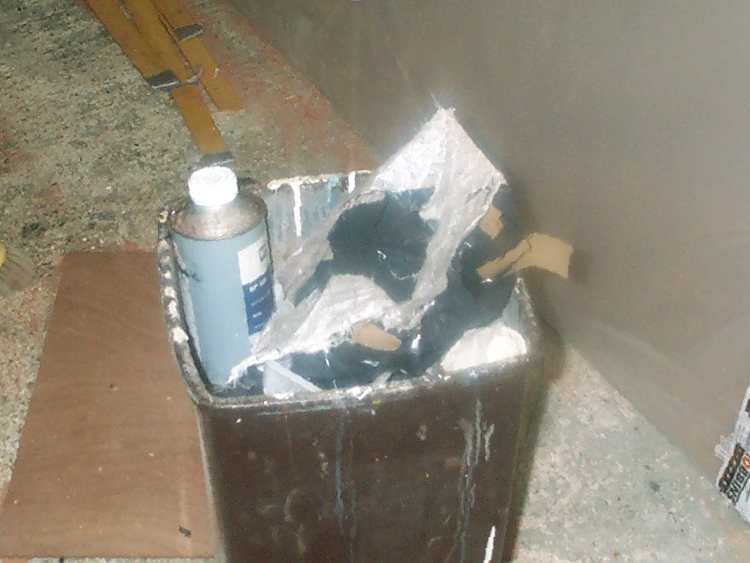
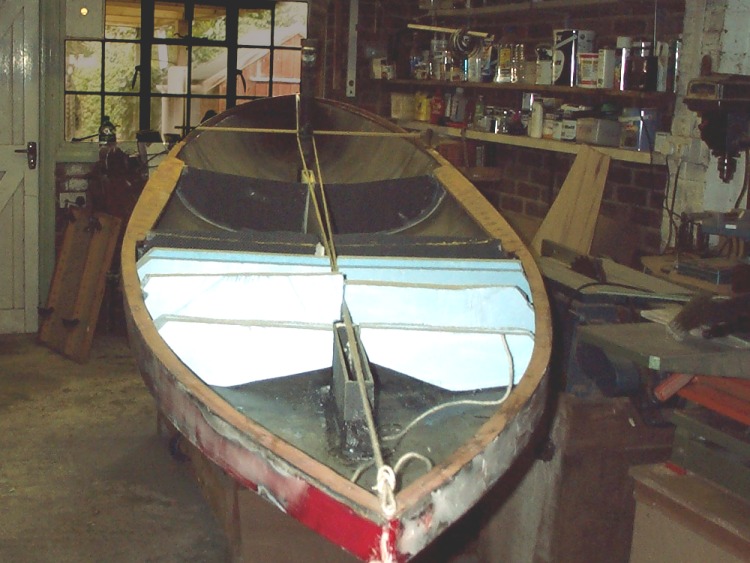
Anyway I bit the bullet, and took out everything that was suffering from the rot or had to come out because it was attached to the rot. I then took out everything I thought was too heavy or just not done quite the way I would like. At this point I also figured it was worth taking the paint back as I hate the colour and there were a few places were it needed some work. And so I was left with this at the end of weekend one...
One thing I've learned, by the way, is that its suprisingly difficult to get the whole of an IC in reasonable focus using a cheap digital camera in a small area, especially if the autofocus gloms onto the shed in the background... It was far easier taking snaps of a short fat Cherub when I did pages of working on those...
As you can see, with the exception of some of the paint, and the inner gunwhales, what I had was basically the bare shell as Rob Michael made it about thirteen years ago. Pretty much everything the orginal owner had done had to go.
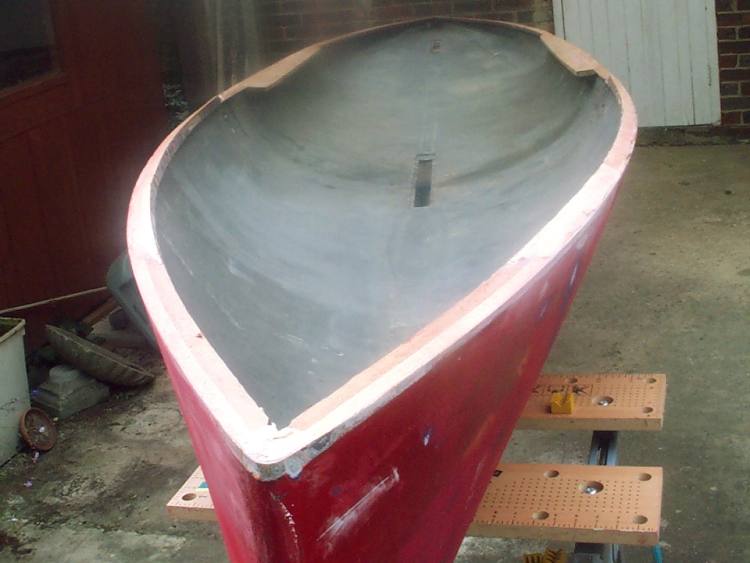
At the moment the work area is gradually disappearing under layers of dust. The normal geological effect of layers of paint is transferring from the boat to the floor... The initial layer of dust is the maroon top coat, now covered in a substantial layer of the original purple,. The purple seems to be a good thick job, maybe a couple of repaints, but white undercoat is gradually appearing which is about the point to stop. Ideally you want the surface to be a mix of undercoat and the some bare surface filler, but you need to avoid exposing the skin. The top coats should only appear where there have been previous blemishes. I don't know that I can face taking off all the purple though!
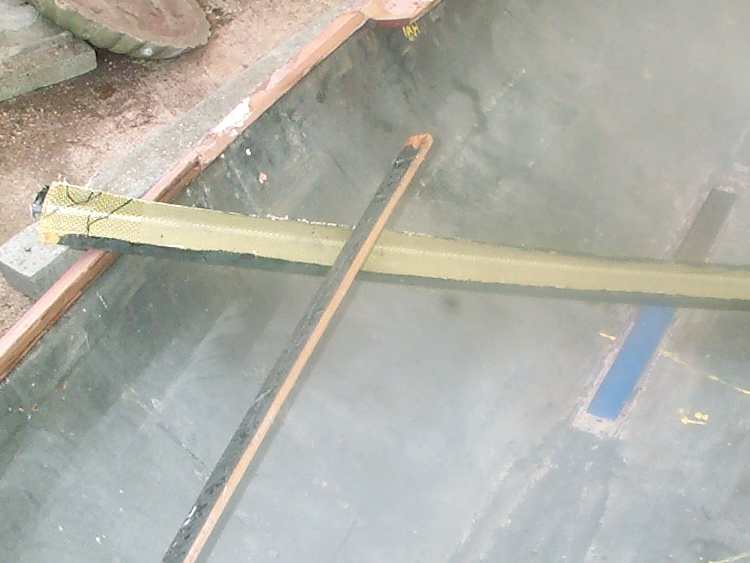
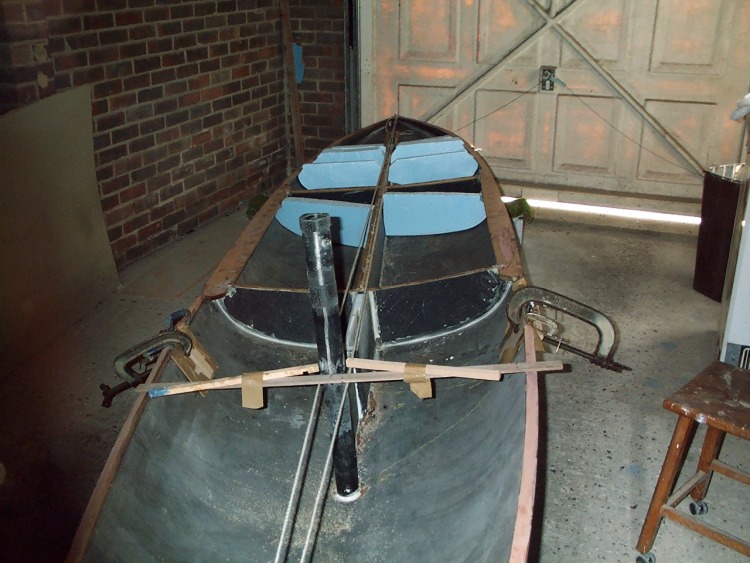
Also this weekend I will be trimming back the remaining gunwhales as much as possible. They have been left as rectangular section, but I prefer to trim them down to a triangular section. It keeps the glue area the same, but reduces the weight a bit. The weight saving in trimming off thinnish section cedar is of course negligible. However every litle bit does help, and its important to get yourself in the right mindset for saving weight. If you get in the habit of thinking "that little bit won't matter" the little bits that don't matter tend to get bigger, and soon you're in trouble. I just wish I could apply the same good advice to my eating habits...
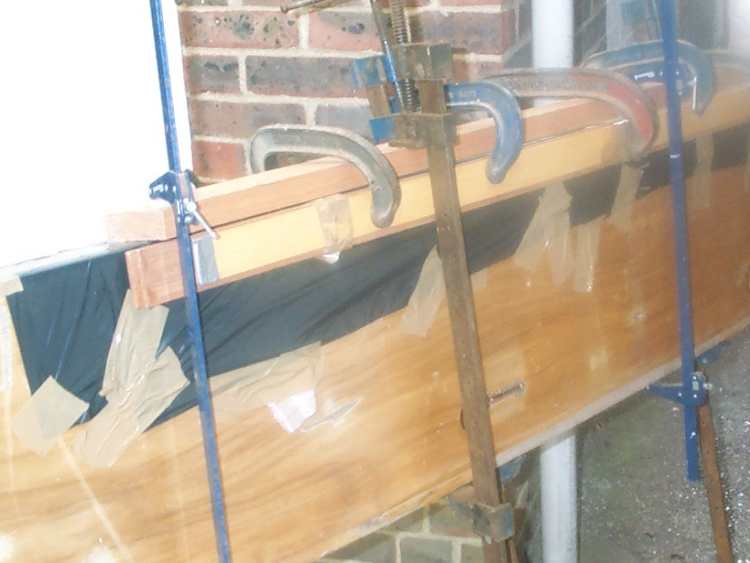
The timber arrived from Robbins in Bristol. Some strip cedar for various bits and bobs plus some mahogany for the outer gunwhales. So the first job was to cut this down and plane it to the desired size. The woodwork shop my father built is greatly appreciated. Also this weekend was the first bit of fabrication. The piece of cedar destined to be the foredeck beam got (unusually badly done, even for me) one layer of unidirectional 200gsm carbon, then one layer of weave. With the ply itself there should be anough strength there provided I don't jump on the deck! The canoe shell sides are so near to parallel and the rig loads so (relatively) low that I don't think it will require anywhere near as much strength here as the Cherub did. Its easy to see - just watch if the deck distorts as you put the rig tension on!
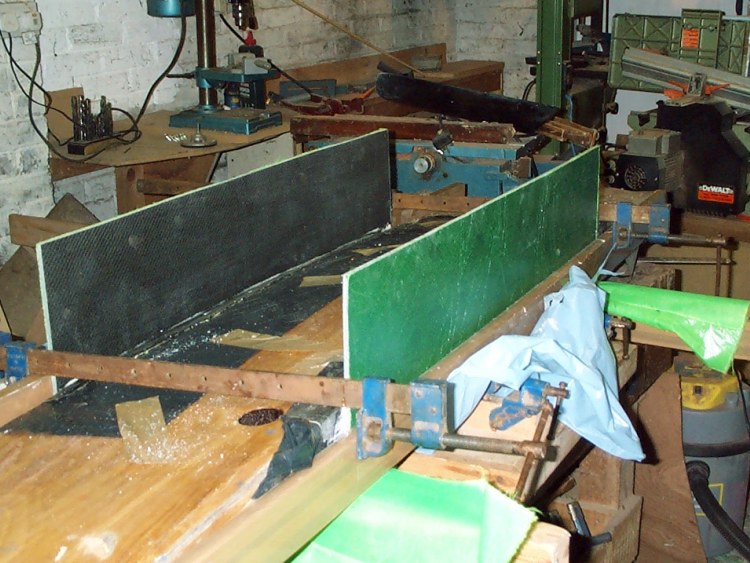
The other piece of fabrication was the first bits of the seat carriage. This is rather experimental: it will be interesting to see how it turns out. The carriage will be a simple rectangular box, with full length rails both front and aft to give it lateral stiffness. This photos show the start of the rails which are being moulded round the seat. First, and invisible in the picture, are a few layers of thickish cloth. they are simply to provide some clearance between the seat and the rails. An interference fit will not be desirable. Next comes a layer of bin liner plastic, held down with parcel tape. Parcel tape is wonderful stuff for tech boatbuilding - epoxy doesn't stick to it! Then the sticky stuff starts. One layer of peel ply, one layer of 200g kevlar cloth, two layers of 200g carbon, then another layer of peel ply. The fibres are impregnated with epoxy on the bench. For the front rail I used the remains of the original carriage to consolidate the laminate, just compressing it onto the layup with sash cramps. For the full width aft rail this was not an option, and various bits of timber and cramps were pressed into service. It would be better to vacuum bag the structure rather than consolidate with pressure, but I don't have those facilities.
Now I'm not expecting these 3 layers of cloth to be anything like strong enough. The kevlar layer is to deal with abrasion, and the other two should be enough no make the rails solid enough to be handled and glued into place. When in place I am planning a core of cedar or foam to go on top of the rails, tapered down to a triangular section, and the the real load bearing fibres in place across the core, round a radius rather than a sharp right angle, and from there down on the main load bearing paths on the main structure. Its suprising (to me anyway) how much the "short" seat which ends in the middle of the boat when fully out complicates these load paths. A gunwhale to gunwhale seat seems unnecessarily long and wasteful of weight, but I think by choice I'd have a seat about 250mm longer and have rails fore and aft about 500mm long as the main supports. This should provide anough stability for the top (with the same distance between the ends of the front rail as on a current conventional seat carriage) whilst ensuring that the key loads always come to the same place.
A week off work should enable me to make some decent progress. Other committments meant that I couldn't start anything until Monday, which was mainly spent on the M25. By the end of the day I'd picked up some Dow Floormate 700x, which is their high compressive strength blue styrofoam, and three carbon/foam flat panels, made up for me by Bloodaxe Boats.
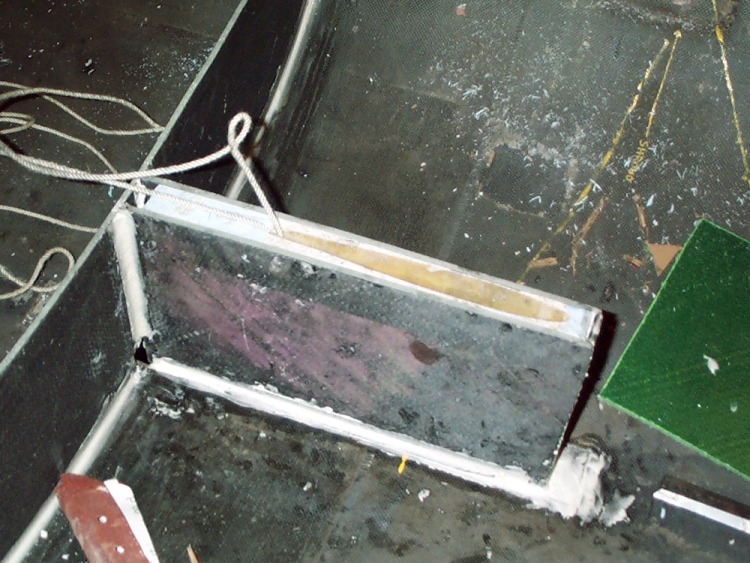
Tuesday. Marked out the cuts on the carbon panels, started assembling the daggerboard case, and started making styrofoam deck support beams. I don't share the enthusiasm many have for casette type daggerboard boxes, so mine is simply a glass sleeve for the board glued into a box made from carbon panel. There's about 50mm of styrofoam behind the trailing edge though, so plenty of scope for bashing into the structure without actually strtaing the boat leaking. Hopefully I've got the sleeve set up so there will be minimal load on the trailing edge, thus avoiding the continual daggerboard repairs I've had up to now. These were caused by the foil being, bizarrely, supported primarily at the leading and trailing edges rather than at max width. The trailing edge, quite naturally, objects to this unfair load and cracks...
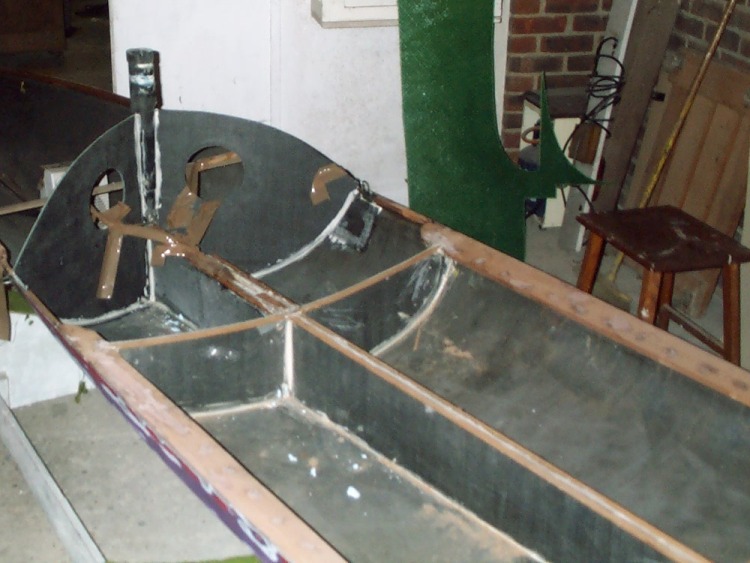
Wednesday. Put the lateral bulkheads in. It probably doesn't make much difference whether the bulkheads go in before the spine or vice versa, but I liked the idea of having the fibres on the bulkheads going right across the boat. I'm not totally at ease with lightening holes in the bulkheads without having some sort of layup across the exposed foam, and by the time you've done that you've gained half the weight you saved with the holes. I also glued the carriage rails onto the panels that hold them. The rails themselves need to be enormously beefed up, but I'll do that when the main structure is together.

The daggerboard case isn't glued in in the above photo. This where
you really get into the business of lining things up. The daggerboard
needs to end up smack on the fore and aft line, aligned fore and aft
and vertically. Its at this point you find out how asymmetric the
boat is! I find you usually end balancing about three or four
different factors to compromise for the right position. I reckon the
distance round one gunwhale is 10mm greater than the other. If you
think this is bad then consider that according to rumour a Soling
that was perfectly symmetrical would fail measurement! I've never yet
found a boat that was symmetrical to the limits of my ability to
measure it...
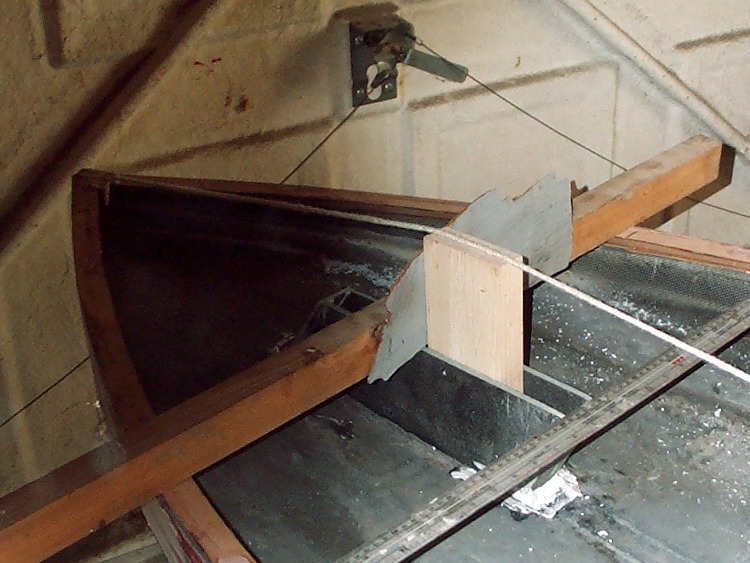
I've taken the shrouds and the tip of stem and
stern as my master data points. I checked a few other points down the
boat to make sure there was no distortion at the shrouds. The
gunwhales are parallel for at least 5 feet aft of the shroud point:
there's no major distortion so its a reasonable starting point.
I think using the shrouds as the master data point is the easiest one
for me to get daggerboard and mast exactly in line, but if you know
better then say. Actually I suppose I probably don't want to know now
its too late... The way I did it was to run a pair of lines from bow
to stern and put a batten across the boat with a notch for the
leading edge of the dagger board. The daggerboard went in the case
upside down and between the two lines. If the daggerboard trailing
and leading edges are equidistant between the lines then the board
should be in line fore and aft. The notch provided a point at which
the daggerboard and case could be rotated and so set up at 90 degrees
to the batten between the shroud points. So all this should mean that
the board is on the centreline, aligned fore and aft and at 90
degrees to the gunwhales. Next will be to make sure the mast is
aligned up to match.
After all this the old dagger board
case looks to have been slightly off centre - at least after 15 years
of use and abuse... . This probably means that the daggerboard is now
slightly offset to the centreline of the boat underwater... Yer pays
yer money and yer takes yer choice...

Thursday. I don't seem to be over motivated for this rebuild. It
feels as if I'm keener to write about it than do it... Sitting down
typing and extracting a carbon splinter when I should be doing some
more work. I feel (but it might be self deception) that as an amateur
its best not to push yourself to make progress if you're not in the
right frame of mind though.
Canoes really are quite fiddly
aren't they? I'm getting very bored with making a new seat carriage.
I just hope the damn thing is strong enough when I've finished. Today
I've glued some cedar battens top and bottom of the rails I've
moulded. These will be the core of the final rails. Cedar rather than
foam because it was handy and a bit easier to work with rather than
any more logical reason. Glued up the basics of the rudder box round
the stock. I hope I've padded things enough to give adequate room to
install the stock in different weather conditions without it ending
up too sloppy a fit. Dagger case glued in. It will need a good amount
of cloth over the joins, just fillet won't be sufficient for such a
high load structure. I also started assembling the mast stump. This
is made from a piece of C-tech carbon tube sourced from Cherub mates Will
& Lucy Lee, partially sleeved with part of the sleeve I had on
the mast which includes the gooseneck fitting (so I won't have to
make a new one. This tube was part of my C-tech Cherub mast before I
converted that to a stump rig. I have a kind of tradition that each
boat I own incorporates something from the previous one!
Friday. Grief, Friday already. There was a bit of a setback this
morning when I discovered that the seat was no longer sliding freely
in the carriage bracket, and I had to rip off the last piece of work
and redo it. I have the feeling that building one sliding seat
carriage is going to be enough for my lifetime... I constructed a
spinnaker chute for the Cherub in 1989, and vowed never to make
another one, so troublesome was the job!
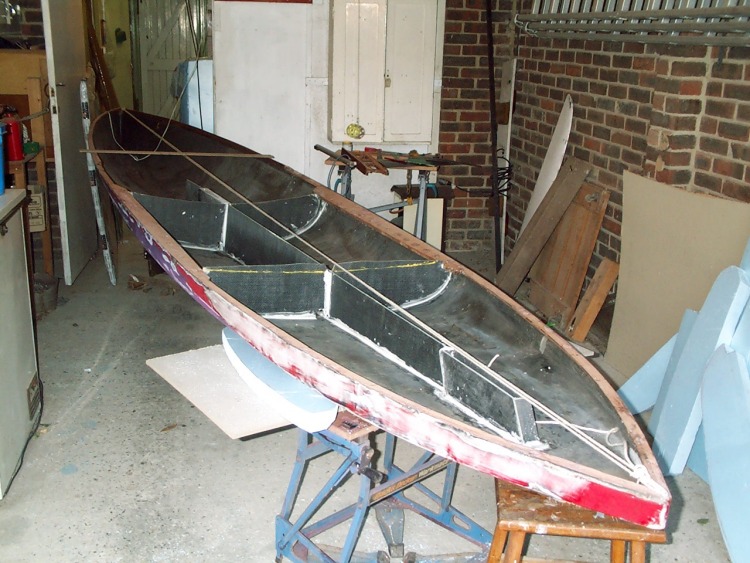
Anyway, as can be
seen from above most of the internal framing is in place. The boat
looks delightfully uncluttered, but all the styrofoam deck supports
will spoil that look. The new daggerboard and rudder cases are so
much smaller than the old ones that a considerable amount of packing
has been required around them. Hope that's a good sign for the
eventual weight. I must go and buy a spring balance and keep an eye
on the weight.
Saturday. Unspectacular day. lots of fiddly bits, nothing really worth a photo. Have fitted a kicker take off to the mast stump and various other bits so that's now ready to install in the boat. Did some tidying up and shaping of the cedar core for the seat rails - now ready for the outer laminate once I make up my mind how many layers of what to put on there... Some carbon reinforcement over the rudder box joints, more of that needed round the daggerboard case, some shaping of styrofoam deck support beams.
Sunday. Pack up and tidy up. I'll take the seat carriage components home and try to find some time in the evenings to glue some unis on.
Didn't have a chance to do anything significant to the carriage during the week. Got some 500mm wide unidirectionals from Carbonology and some 50mm woven tape. The tape will save the haslle of cutting of cloth for seam joins and the unis across the seat rail will be a lot less hassle to lay up with three pieces of 500mm cloth each side rather than thirty pieces of 50mm!
Saturday. Nothing really worth photographing from today. Glued the stump in place: a crucial step of course [sorry!]. Glued in 12mm triangular cedar strip each side of the spine and along the two main bulkheads which the deck will be glued and stapled to. Glued two layers of unidirectionals and a layer of weave cloth on the upper seat rails. Hopefully these are done. The bottom rails get the same treatment tomorrow, then it will be time (and past time) to assemble the carriage.
Also started thinking about the shroud anchors. These will be stainless steel D rings. What I shall do I think is install them so that the D ring can be folded down horizontal and be clear of the sheer line - ie inset slightly into the topsides. This will make it a whole lot easier to get the deck in place as I shall just fold them down while I cut and fasten the deck and then make the appropriate cut out in the deck and raise them up before putting the gunwhales on. I think these had better go on before the front bulkhead, so that's delayed again!
As ever with these jobs all the little bits are taking far longer than you ever expect, and I fear I shan't make the Oxford Open. It would be too much of a rush to get there now I think.
Sunday. Glued in the shroud anchors. Tidied up the top seat rails but decided to leave the bottom ones for another time. Decided that the remaining styrofoam bulkheads are going to have to go in in two pieces. Away from the stern there's not enough taper to get them in in one piece.
Saturday. More cedar strips to support the deck. On the centreline both fore and aft of the daggercase I put a thicker piece of cedar, which will be used to screw fittings into. Tidied up the seat rails, which I finished laminating on Thursday evening. Finished up the shroud anchorages. I filled in the area where there were ply pads with a scrap of carbon/foam laminate, filled in the edges and a layer or carbon cloth over the top. Should be good. Cut out the front bulkheads, remembered to put in the cutouts for access hatches, didn't remember to put in a piece of solid core to bolt fittings through. Glued the bulkheads in place, should cure overnight.
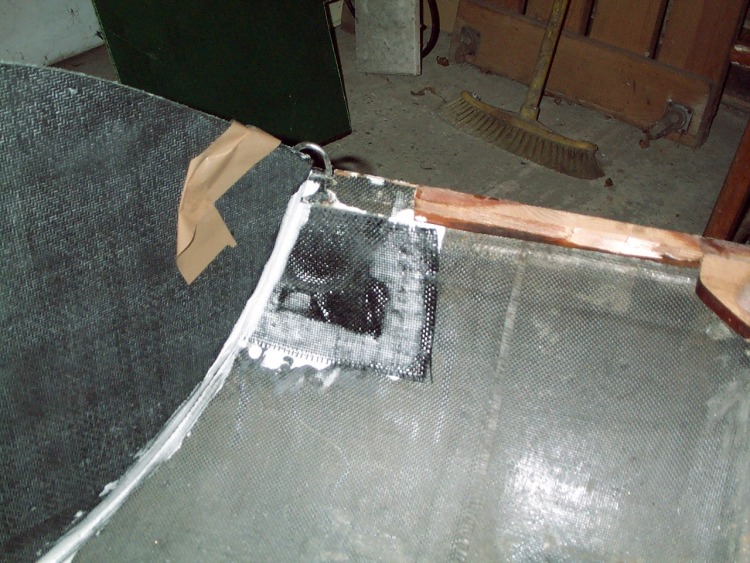
Sunday. Woke up with a migraine so minimal progress. Filleted the front bulkhead joins properly with a microfibre rich mix. Added unidirectionals as reinforcement across the corners of the joins. All the seams of this bulkhead will get carbon tape as its very high load, but the unidirectionals, especially at the shroud end, bolster up the where the peak loads from the shroud compression come. I'm very wary of this area as I've had problems on my own boats in the past and also seen some things I don't like on other Canoes.
The project continued with The second half of the rebuild.